Outdoor security lighting is as important as your inside lighting. The outdoor security light will prevent accidents and guide guests safely to your home. Security is also greatly enhanced by the installation of nighttime lighting. Intruders can be deterred from your home if lighting highlights areas they would trespass. particularly if you’re not home as it will give the illusion that someone is home. Lighting solutions such as timers, motion sensors and floodlights are great solutions to help prevent and deter intruders from breaking into your home – whether you’re home or not.
Because many people do not come home from work until it is already dark outside,outdoor lighting, and gazebos in the evening. Nighttime parties can be held outside, and children can safely enjoy playgrounds at night if they are well lit and supervised.
In addition to being used for house security and lighting, security light with motion can also be used as automatic lighting tools, such as installed at garage entrances, chicken coops, warehouse entrances, etc.
Some Tips You Should Know Before Install Security Light
Firstly, when fitting the lights, you’ll need to take factors into consideration, such as height from the ground, the angle and the wattage of the lamp.
If your outside areas have places where intruders can easily hide, such as trees or wall corners, then it’s important to illuminate these areas with floodlights so as to prevent them from being able to hide in the shadows.
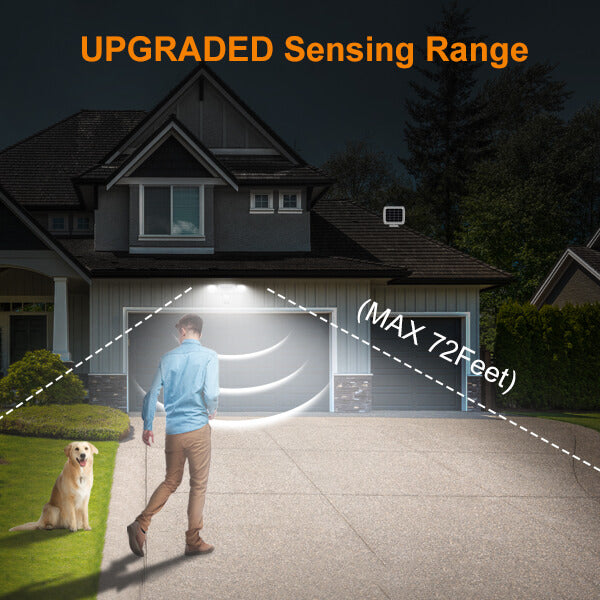
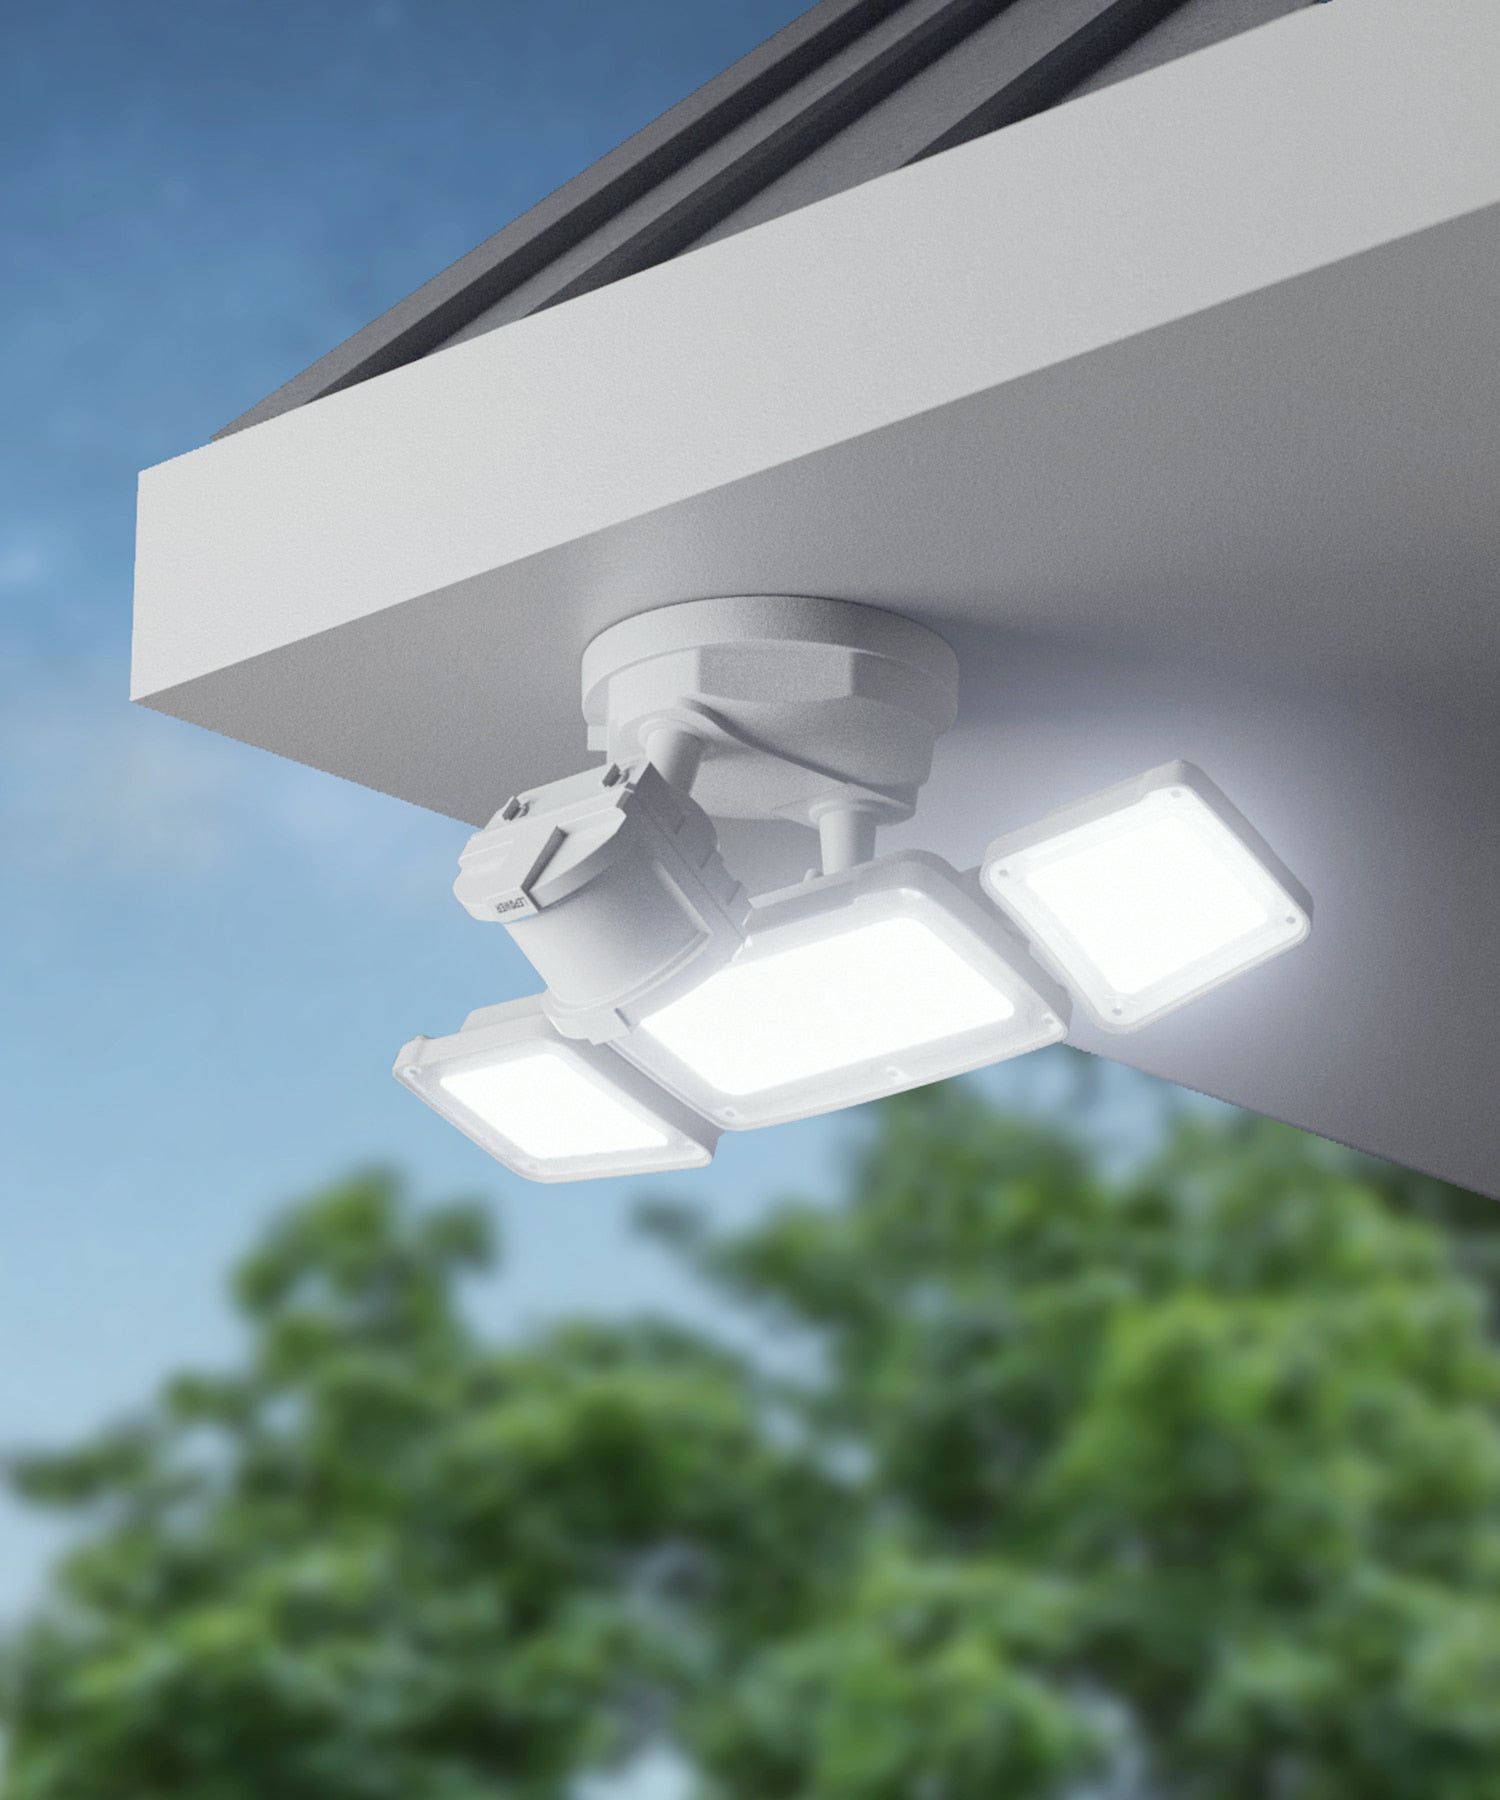
Motion sensor lights are always a great investment as they tend to scare intruders away as soon as they come on, as well as catch your eye when they suddenly switch on. We would advise the importance of putting these in front of your front doors and your garage doors.
If you’re not home for a few days and you want to make it look like there are people at home, get some light timers – this way, certain lights will be switched on and off at a set time at night.
How to install the motion sensor lights?
A motion sensor light is an effective security tool when it is properly installed. The fixture will detect motion in your backyard (or front yard, if you prefer) and automatically turn the light on. A bright floodlight will then bathe the area with enough light to let you see who or what may be out there.
Here is what you’ll need to do.
Step 1: Turn off your electricity at the main fuse box.
If you cannot check the amperage of the wiring at the fixture where the light will be installed with a voltage meter, then it’s better to turn off the power to the entire home. Make sure you unplug any sensitive electronics before cutting the power.
Step 2: Remove the existing fixture.
Start by removing the light bulbs from the fixture. Then remove the screws from the wall plate. Carefully take the fixture down. Check wiring with a voltage meter (it’s a good idea to do this even if you’ve cut all the power).
Step 3: Attach the base of the new light.
Your new base will directly replace the base from the old light that you’ve taken down. Every one of the best outdoor motion sensor lights contains manufacturer’s instructions that are a little different. Make sure you follow the included instructions with your product to complete this step. Test the base to ensure it is secured to your fixture before proceeding.

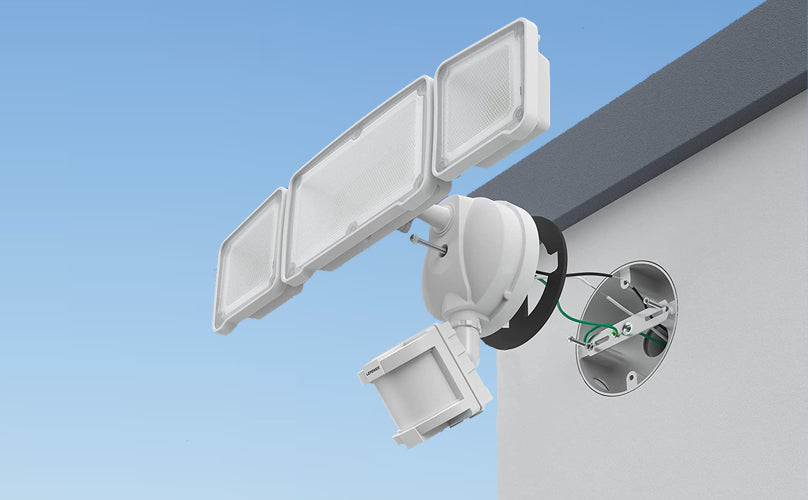
Step 4: Attach the mounting strap. This will go over the existing fixture box. It is what will allow you to attach the wires before you mount the fixture of the new outdoor motion sensor light.
Step 5: Wire it up.
You’ll need to pair the black wire (this is the supply wire) with the black fixture wire on your motion sensor light. Then pair the white wire with the white fixture wire. There will be a third wire of a different color or it may be bare. This is the ground supply and will attach to a similar component on the new light. If the wiring colors do not match, then you’ll need to use a voltage meter to identify the positive, negative, and ground wires. Make sure all wiring connections are secure.

Step 6: Finish the installation.
Use a screwdriver to drive the installation screws into the new wall plate. Apply caulking around the junction box to prevent moisture seepage. Then test your light to see if it works. If it does not, double-check your connections.
Step 7: Adjust the motion sensor.
Turn the power back on, aim the light in the desired position and tighten the screws. Follow the manufacturer's instructions to adjust the sensitivity and motion path of the sensor, as well as how long you'd like the light to remain on once it's triggered. Finally adjust the angle of your lamps to get the most coverage.

If the installation is still hard for your, you can choose our wireless Solar Powered Security Lights or Battery Operated Security Lights...
Discover more>>


2 comments
Lily Lee
How to adjust the light to lit up from dusk to dawn? Does the light have 2 level brightness? Thank you
Jerry
I have been looking for a motion sensor security light for my back yard the was aesthetic and worked great and had the brightness to illuminate my whole yard. Well I purchased your three light security led and you guys knocked out of the park. I couldn’t be more pleased. I will definitely be shopping your store for my lighting needs in the future. WOW!!!!!
Leave a comment
All comments are moderated before being published.
This site is protected by hCaptcha and the hCaptcha Privacy Policy and Terms of Service apply.